A full apartment renovation is not a single process — it is a strict sequence of interdependent stages. Skipping the order has consequences: you cannot tile before waterproofing, you cannot paint before skim-plastering, you cannot lay flooring before the screed has fully cured. We have broken down every stage — what happens, how to check quality, and what to decide in advance.
1 Survey and Design
The first stage happens before any physical work. An engineer inspects the apartment: checks load-bearing structures, condition of floor slabs, utilities, floor levelness, and wall verticality. In Soviet-era stock this is critical — behind a layer of plaster there may be aluminium wiring, rotting timber joists, or hidden cracks in the slab.
This stage produces the technical brief: partition layout, socket and switch scheme (with heights per applicable standards), lighting plan, furniture arrangement. The more detailed the brief, the fewer costly changes mid-project. Every change made mid-construction costs 3–10 times more than a decision made on paper.

A detailed floor plan is the foundation of the entire renovation. Socket positions, plumbing points, and partition layout are fixed before work begins.
| What is decided at Stage 1 | Why it cannot be deferred |
|---|---|
| Partition layout | Screed is poured before walls are built — changes require breaking up the floor |
| Socket and switch scheme | Electrical runs are chased into walls before plastering |
| Lighting plan | Cables for light fittings are run before the ceiling is installed |
| Water supply and drainage points | Pipes go into the screed — impossible to move after the floor is laid |
| Heating system | Underfloor heating and radiators are installed before the screed |
2 Demolition
Demolition is controlled stripping, not chaotic destruction. In a full renovation this means removing: old floor coverings and substrates, delaminated plaster, non-load-bearing partitions, plumbing fixtures, and old wiring. Load-bearing walls in Georgia must not be touched without a prior structural survey — our engineer checks the building plan before any approvals.
An important detail for old-stock buildings: beneath Soviet-era parquet there are often timber joists on a slag-fill bed. This extra layer must be opened up and removed — it adds 10–15 cm to the screed depth. These "surprises" need to be known in advance.
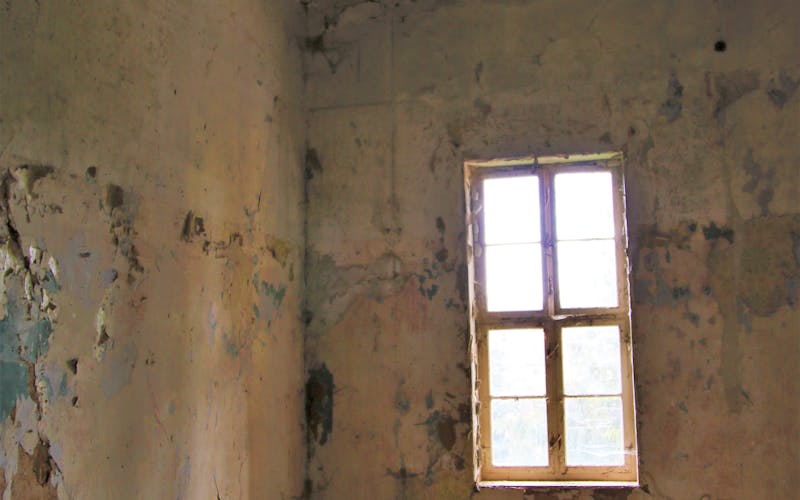
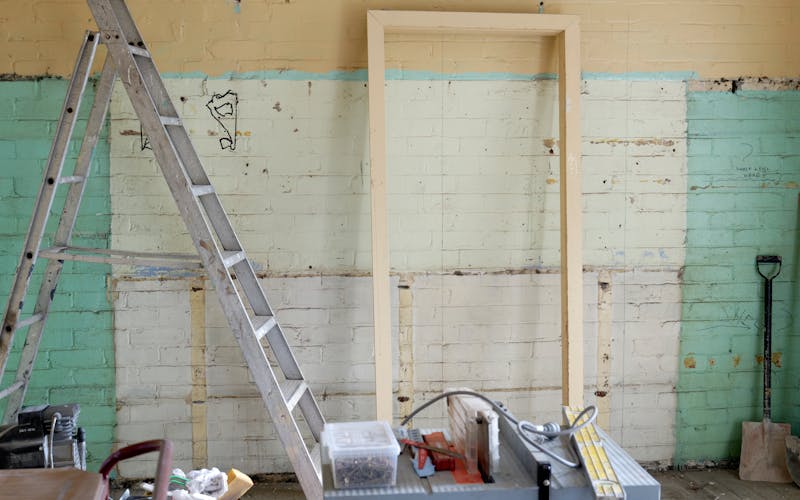
Demolition stage: old coverings, non-load-bearing partitions, and worn utilities removed. What remains is a clean structural shell.
3 Engineering: Electrics and Plumbing
Electrics and plumbing are the invisible foundation of an apartment. Once finishing is complete, access to them is sealed for 15–20 years. Cutting corners or rushing here is absolutely not an option.
Electrics
In Soviet-era buildings wiring is most often aluminium AVVG or APV grade without earthing. Under current electrical regulations, a full renovation requires complete replacement with copper. Standard cross-sections: socket circuits — 2.5 mm² copper, lighting circuits — 1.5 mm², heavy loads (oven, air conditioning, hob) — 4–6 mm² on dedicated breakers.
Runs are chased into walls or run in conduit before plastering. All connections are made in junction boxes using soldering or WAGO terminals — no twisted joints. Final test: insulation resistance measured with a megohmmeter (minimum 1 MΩ per circuit) and RCD trip test.
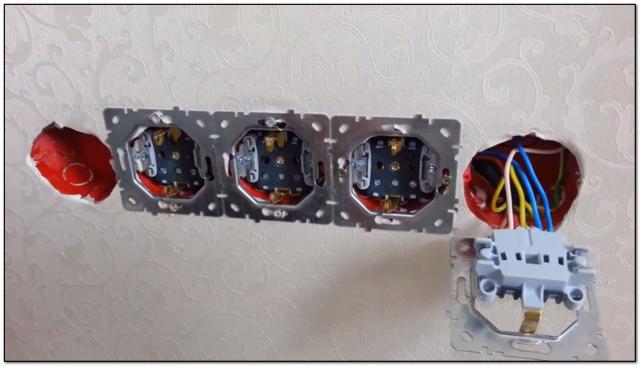
New copper wiring divided into circuits — lighting, sockets, heavy loads — before the walls are plastered.
Plumbing
Water supply pipes (polypropylene PN25 or multilayer 16 mm) and drainage (PP 50/110 mm) are run concealed — in chases or in the floor, before the screed is poured. Drainage pipe gradient: at least 1 cm per linear metre. All joints are pressure-tested at 1.5 times working pressure after installation — leaks are not acceptable.
Outlet positions are fixed strictly per the design: once the bathroom is tiled, moving a fitting by 5 cm means redoing the entire wet room.
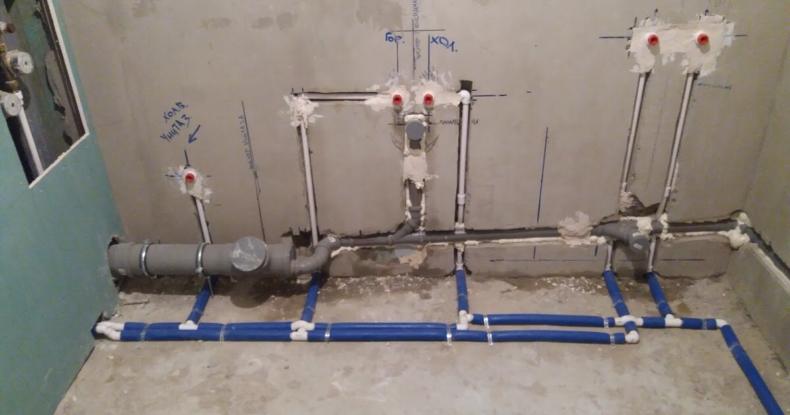
Concealed water supply and drainage pipes before the screed is poured — all joints pressure-tested.
4 Floor Screed
The screed is the base for everything that goes on top. Its quality determines whether the floor will be flat, whether cracks will appear in a year, whether laminate will creak and tiles will come away.
Standard method: cement-sand mix M150–M200 with 50×50×4 mm reinforcement mesh, 60–80 mm thick, laid to screeding rails. Rails are set with a laser level — maximum surface deviation 2 mm over a 2 m straightedge. A separation layer — polyethylene film or primer — is applied over the screed depending on the final floor covering.
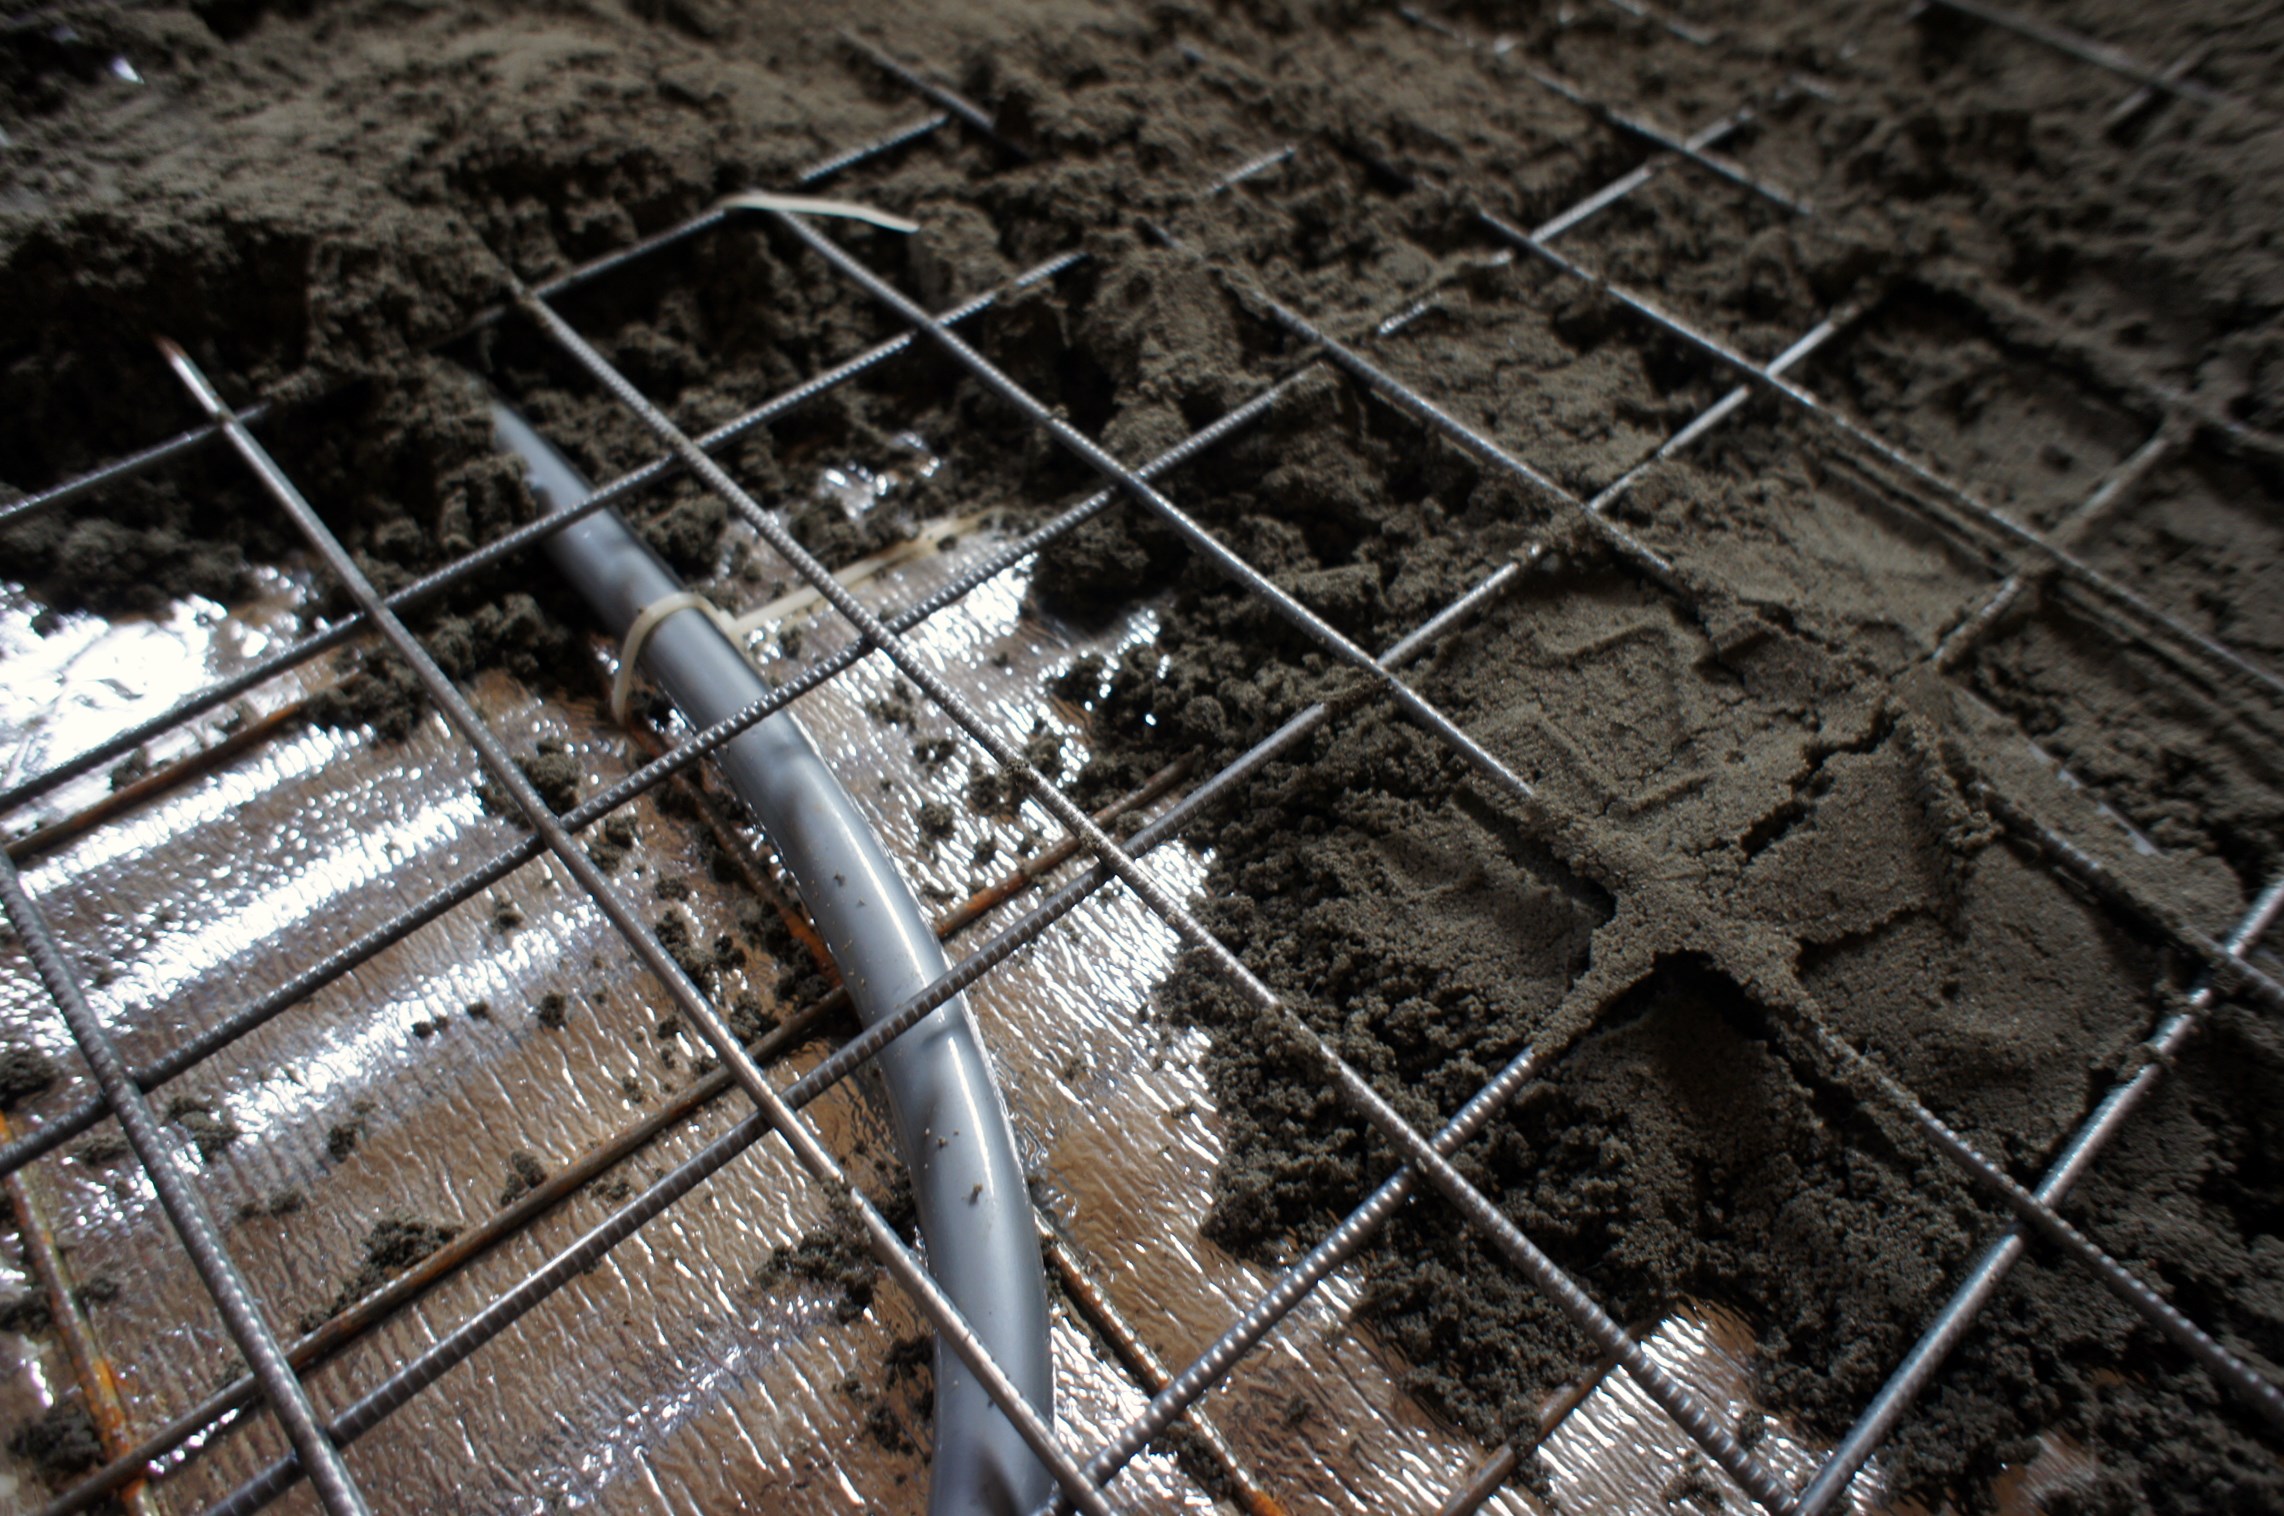
Cement-sand screed with reinforcement mesh. Surface levelled to laser rails to ±2 mm over 2 m.
5 Wall and Ceiling Levelling
After the screed comes wall plastering. In Soviet-era Tbilisi apartments, wall deviations from vertical of 2–4 cm are normal; in historic buildings 8–10 cm is possible. Machine plastering (PFT G4 or Knauf PFT type) achieves a tolerance of 1–2 mm over a 2 m straightedge and dries faster than hand plastering due to even layer thickness.
Internal corners — strictly 90° using a corner rule; external corners — with a metal perforated corner bead 25×25. Before the finish skim coat (2–3 layers) — mandatory Tiefengrund primer or equivalent for adhesion.
For ceilings: Soviet-era buildings have heights of 2.5–2.7 m. A stretch ceiling takes another 5–10 cm, creating a pressing feeling. We recommend a skim-plastered painted ceiling — it keeps the height and looks modern. A plasterboard perimeter coffer 120–150 mm deep can conceal services and accommodate indirect lighting.
6 Bathroom Finishing
The bathroom is the most technically demanding node in the apartment. The work sequence here is fixed: waterproofing → screed → floor tiles → wall tiles → plumbing fixtures. Each subsequent stage is carried out only after the previous one has fully cured.
Waterproofing: brush-applied compound (Ceresit CR 65, Mapei Mapelastic or equivalent) in 2 coats with a 30 cm upturn onto walls and a mandatory tape at all floor-wall and wall-wall junctions. After application — flood test (fill to 5 cm depth, hold for 72 hours). Skimping on waterproofing is the most expensive economy in renovation: a leak to the neighbour below opens up the entire floor and requires a full redo.
Tiles are laid using a notched trowel 6 mm (for 300×600 tiles) or 10 mm (large format 600×1200), adhesive — polymer-cement C2 per EN 12004. Grout — epoxy in shower zones, cement-based with protective impregnation on other surfaces.
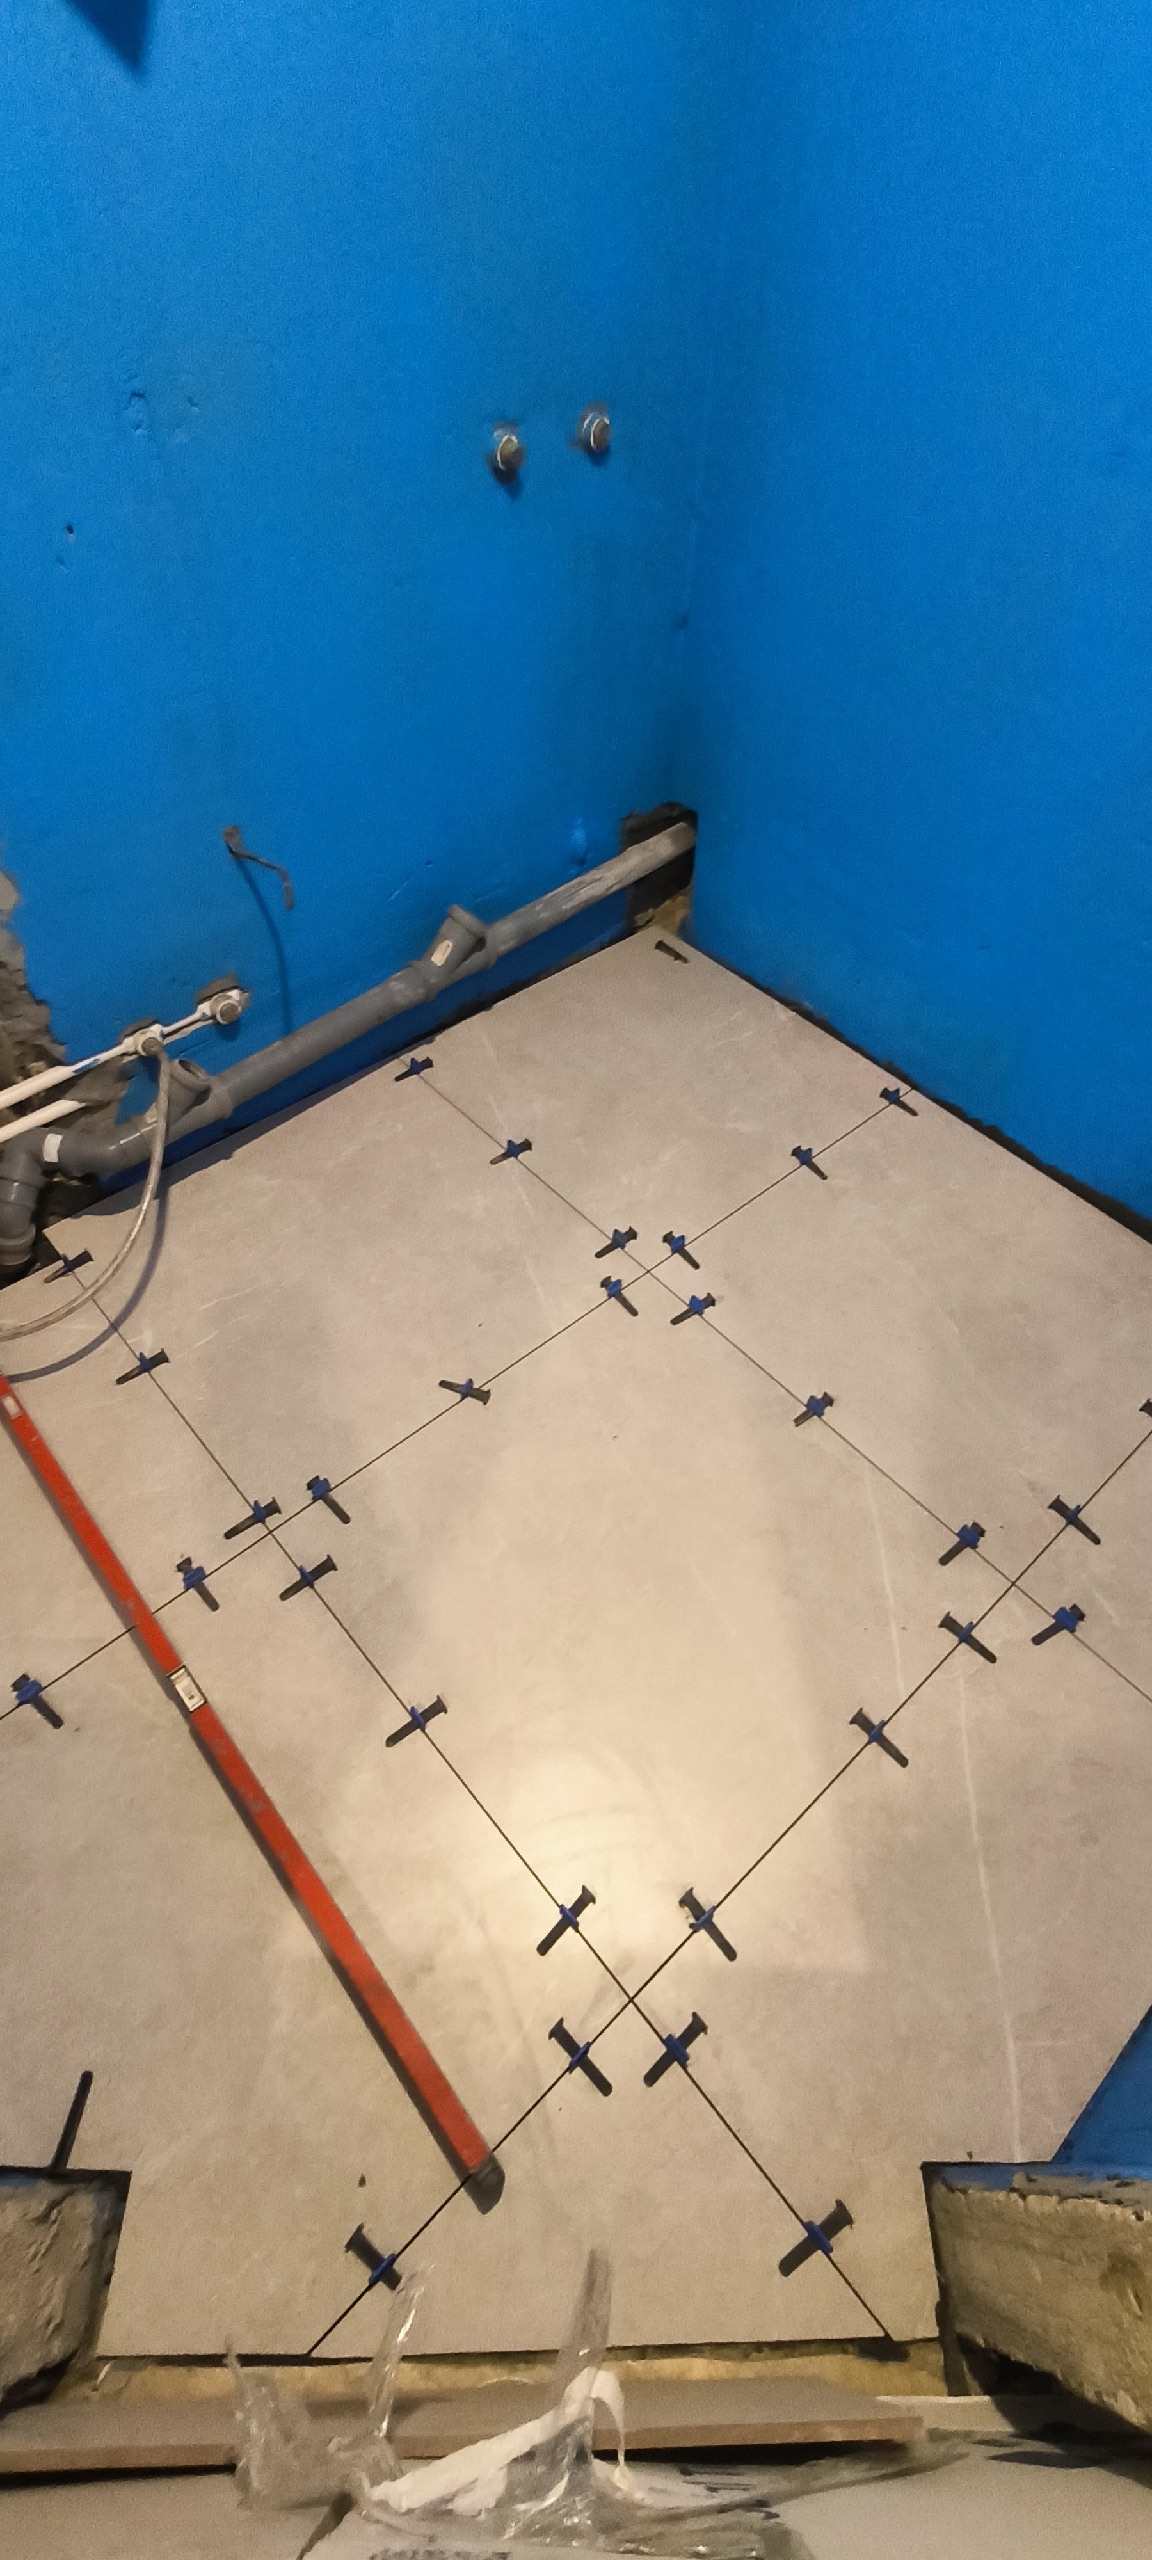
Large-format 600×1200 mm tile installation in bathroom. Two coats of waterproofing with corner tape applied before tiling.
7 Final Finishing and Fit-Out
The final stage — skim-plastering and painting walls, laying floor coverings, installing doors, fitting light fixtures and electrical accessories, connecting plumbing.
- Doors are installed strictly after the floor covering is laid — otherwise the frame needs trimming, which disturbs the door geometry.
- Skirting goes in last — after the floor and wall painting; the gap between skirting and wall is filled with clear acrylic.
- Plumbing fixtures (basins, WC, taps, bath) are connected after all tiling and surface work is complete.
- Light fittings are installed after the ceiling final paint coat.
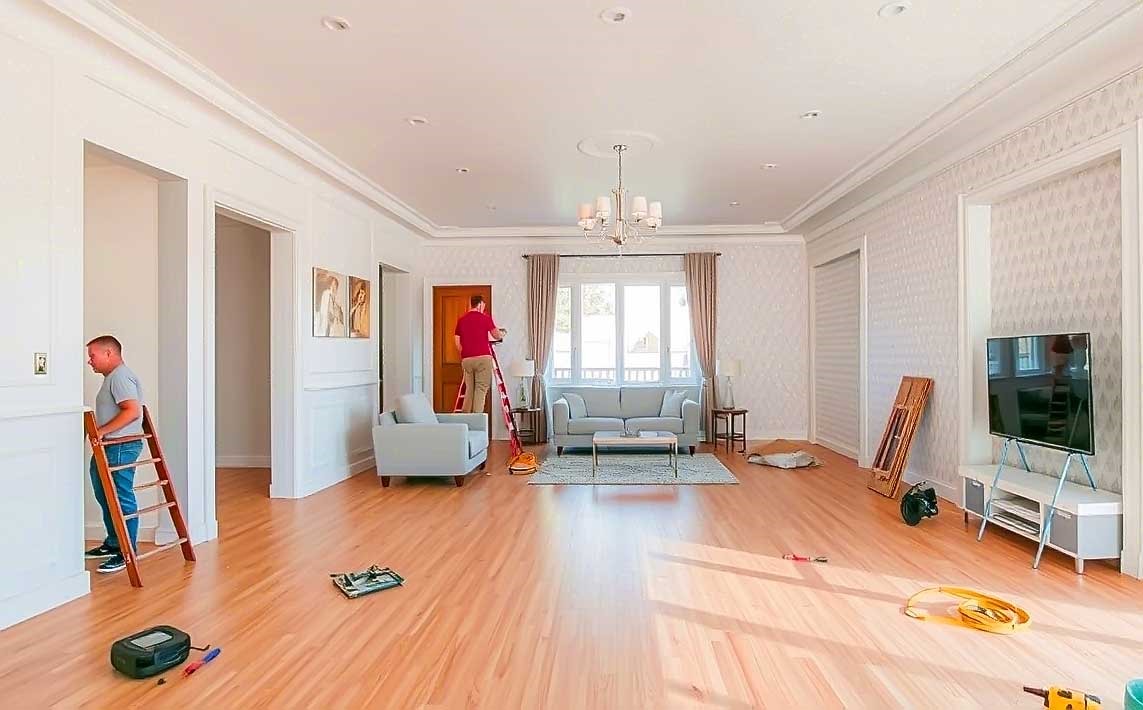
Result of the final stage: finished paintwork, floor covering, installed plumbing fixtures and light fittings.
Final Inspection
The final handover is not a formality. Check against specific parameters:
- Floors: spirit or laser level, tolerance ±2 mm over 2 m
- Walls: 2 m straightedge, tolerance ±3 mm
- Tiles: tap — no hollow spots, joints of consistent width
- Electrics: every socket tested (tester), RCD trip test (test button)
- Doors: tight fit with no gaps, hinges silent
- Plumbing: no drips under pressure, drainage gradient correct
A signed acceptance certificate is your warranty instrument. Without it you have no basis to make a claim against the contractor.
Frequently asked questions
How does an apartment renovation start?
With a survey and design, then demolition and rough works. Finishing comes only after the engineering systems and screed.
Can stages be skipped or reordered?
No — breaking the sequence causes cracks, squeaks and rework. Each stage depends on the previous one.
How long do screed and plaster take to dry?
Cement screed gains strength for up to 28 days; plaster dries in a few days. Rushing here cracks the tile and finish.
How long does a turnkey renovation take overall?
Cosmetic 50–60 m² — 2–4 weeks, major 60 m² — 6–10 weeks, 100+ m² — 12–16 weeks. The timeline is fixed in the contract.
Want to understand what your apartment needs?
We'll walk through the stages for your specific property and prepare an estimate.
Book a free visit →