The bathroom is the most technically demanding room in any apartment. It has constant humidity of 70–90%, temperature fluctuations, aggressive cleaning agents and daily mechanical wear. Tiles chosen without understanding these conditions will peel or crack within 3–5 years. We have gathered everything that matters — from slip-resistance classification to laying technique — with no filler.
Before tiling: waterproofing — the stage you cannot skip
People think about the tiles first. They think about waterproofing last. This is a logical mistake: tile is not a waterproof material. Water penetrates through grout joints (especially cement-based ones), through micro-cracks in the adhesive and travels further — to the substrate, to the floor slab, to the neighbours below.
Waterproofing technology under tiles:
- Product: polymer-cement waterproofing — Ceresit CR 65, Mapei Mapelastic, Litokol Coverflex or an equivalent rated no lower than W8 (withstands 8 m of water column pressure)
- Application: 2 coats by brush or roller, each coat only after the previous one has fully dried (4–6 hours at 20°C)
- Wall upstand: minimum 30 cm — in the shower zone up to the level of the shower fitting plus 30 cm
- Corners: reinforcing tape Ceresit CL 152 or equivalent in all internal floor-to-wall and wall-to-wall corners
- Test: after curing — flood the floor with 5 cm of water, hold for 24–72 hours, check the neighbours' ceiling below
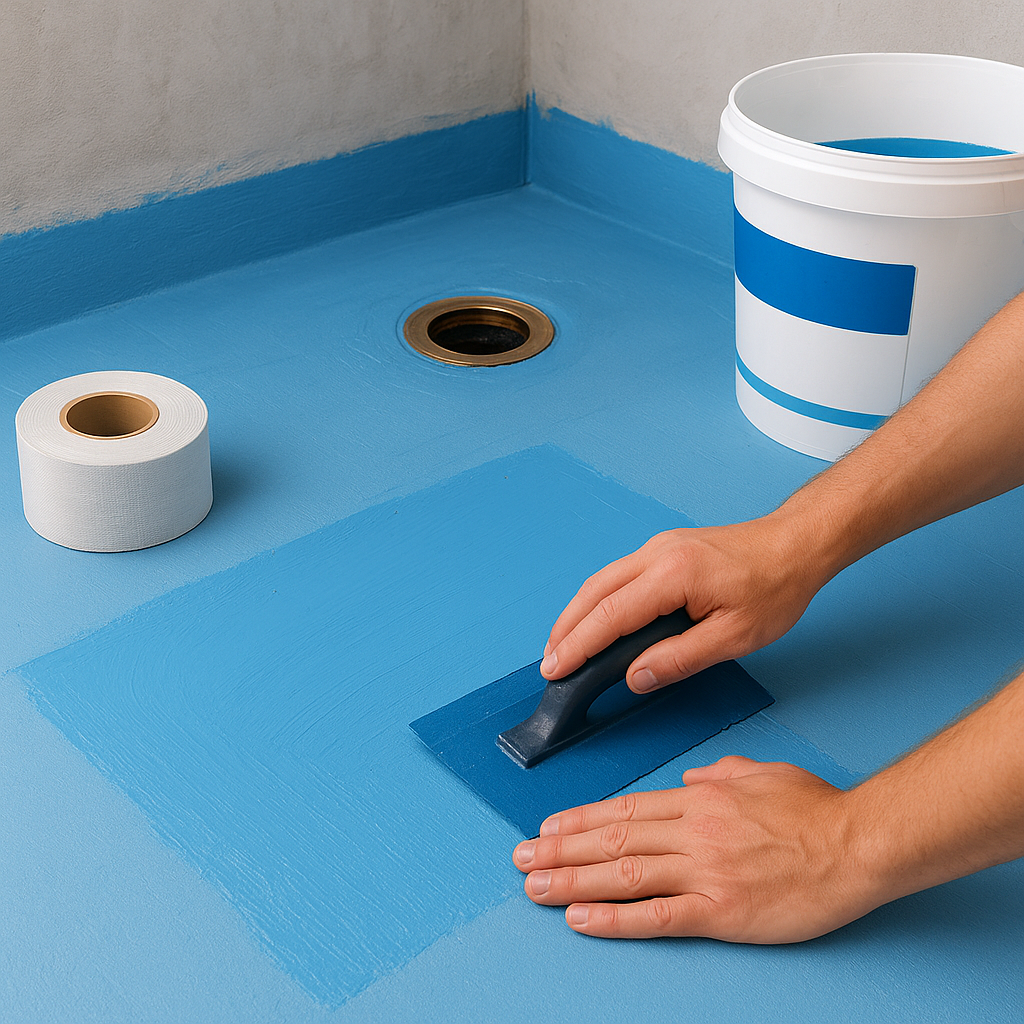
Two coats of polymer-cement waterproofing with reinforcing tape in the corners — a mandatory stage before any tiling in a bathroom.
Slip resistance: the key requirement for floor tiles
The international standard for assessing the slip resistance of ceramic surfaces is the R-class (DIN 51130). It is defined by the angle of inclination of a ramp at which a person in work footwear begins to slip. For residential bathrooms — minimum R9; for shower zones and wet floors — R10–R11.
An additional parameter is the PEI class (wear resistance): for bathroom floors — minimum PEI III, ideally PEI IV. PEI I–II is for walls only.
Tile formats: what works where
Large format 600×1200 and above
Creates minimal grout lines — which is both visually clean and hygienic. The main constraint: the substrate under large-format tiles must be perfectly flat. The allowable deviation is no more than 2 mm over a 2-metre straightedge. In older Tbilisi buildings this almost always requires a screed and full wall levelling.
Technical requirements: adhesive is applied to both the tile and the substrate (double-buttering technique), adhesive bed thickness 8–10 mm with a 10 mm notched trowel. Laying requires a highly skilled tiler — the tile must be "rolled" with a rubber mallet while checking level every 20–30 cm.
Subway tile 75×300 and 100×300
Rectangular tile in a brick-bond pattern is a universal solution. It works equally well in small (4–5 m²) and large bathrooms. Widely available in Tbilisi across both budget and premium segments (Atlas Concorde, Mutina). The herringbone layout adds dynamism but increases tile consumption by +15–20% due to cuts.
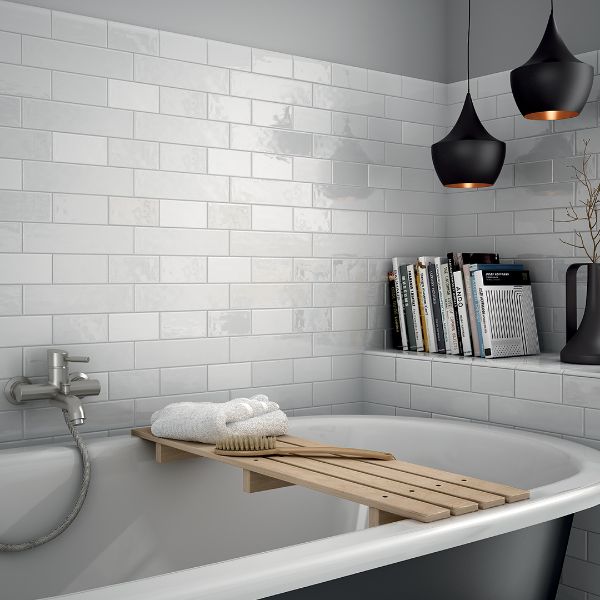
Subway tile 75×300 in brick-bond — a universal solution that works equally well in small and large bathrooms.
Adhesive and laying technique
Adhesive is selected by EN 12004 class. For bathrooms — minimum class C1T (cementitious, with reduced slip), for large format — C2TE (deformable, high-adhesion, elastic). Brands available in Tbilisi: Ceresit CM 115, Litokol K55, Mapei Ultralite.
Joint width — 2–3 mm for formats up to 300×600, 3–5 mm for large format. Less than 1.5 mm is technically incorrect: the tile destroys itself through thermal expansion.
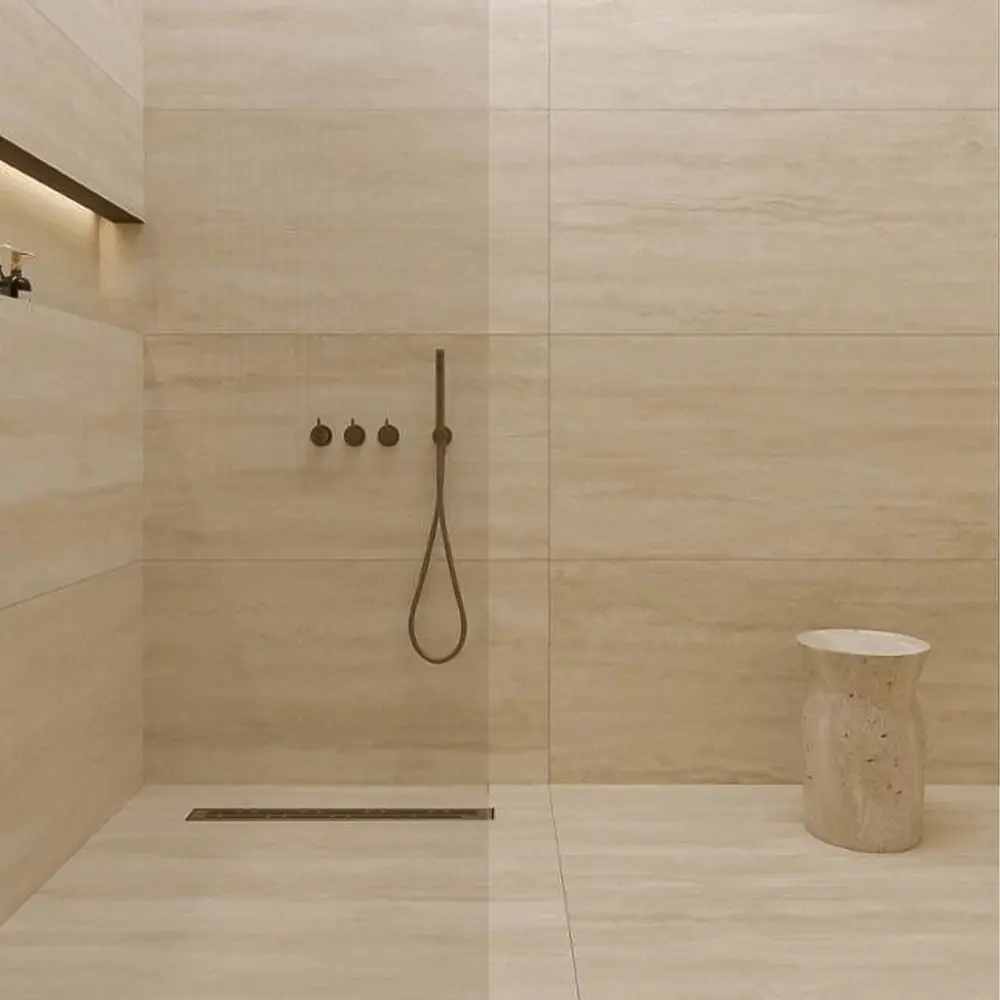
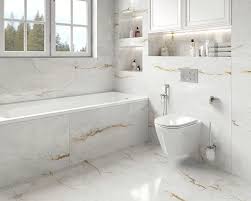
Left: large format 600×1200 mm — minimal grout lines, maximum cleanliness. Right: classic white bathroom with feature tile inserts.
Grout: more important than it seems
Grout is the weak point of most bathrooms. Poor grout darkens, cracks and becomes a source of mould within 2–3 years. This is not the place to save money.
Cement-based grout
Widely available, the market standard. The downside — it is hygroscopic: it absorbs water and soap residue. Without maintenance it darkens and deteriorates within 2–3 years. Mandatory sealing with a protective compound (Litokol Litofin, Mapei Fuga Fresca) — immediately after laying and every 1–2 years thereafter. In shower zones, cement grout is only a temporary solution.
Epoxy grout
Two-component: resin + hardener. Does not absorb water, resistant to chemicals, does not darken, lasts 15+ years. Suitable for joints from 2 mm. Application is more demanding — the mix has an open time of 20–30 minutes and requires experience. Our recommendation: in shower zones — epoxy only (Litokol Starlike, Mapei Kerapoxy, Fuga Nano). On other surfaces — quality cement grout with sealing.
Laying patterns: comparison
| Pattern | Characteristics | Extra tile needed | Difficulty |
|---|---|---|---|
| Straight (horizontal) | Classic, neutral | +5–7% | Low |
| Brick bond (50% offset) | Adds dynamism, versatile | +5–7% | Low |
| Diagonal (45°) | Visually widens the space | +18–22% | Medium |
| Herringbone | Expressive, dynamic | +15–20% | High |
| Large format | Minimal joints, contemporary | +7–10% | High |
Typical mistakes when choosing and laying tiles
- Buying tiles exactly to the floor area. A 10–15% buffer is mandatory. Matching the same batch by shade and calibre later will be difficult.
- Gloss tiles on the floor. Slippery and dangerous, especially in the shower. R-class on the floor — minimum R9.
- Not checking the shade. All tiles must come from the same batch (same calibre, same shade). Tiles from different batches look visually different even within one product code.
- Skimping on grout and adhesive. Poor grout ruins the look of expensive tiles. Poor adhesive guarantees delamination within 2–3 years.
- Ignoring the pattern when planning the layout. Tiles imitating wood or stone must be laid in a staggered pattern following the grain direction — this requires planning before purchase.
Frequently asked questions
Ceramic or porcelain tile for a bathroom?
Porcelain: lower water absorption and higher strength, suitable for both floor and walls. Standard ceramic is for walls only.
What tile size should I choose?
Large format (600×600, 600×1200) means fewer joints and a seamless look, but needs a level substrate and installation with a levelling (SVP) system.
Which grout for wet areas?
Epoxy grout — it doesn't absorb water or grow mould, unlike cement grout. In shower zones cement grout is only a temporary solution.
Is waterproofing needed under tile?
Yes, always: liquid-membrane waterproofing of the substrate and junctions before tiling. Without it moisture reaches the slab and the neighbours below.
Full bathroom renovation
We'll visit, measure, and suggest tile options within your budget.
Get a bathroom estimate →